Your Complete Guide to Managing Your Account
Alright.. welcome to article number seven in the Getting Started series. I know, I know.. "account settings" isn't exactly the most exciting topic. But here's the thing: getting your account dialed in properly means you spend more time doing actual research and less time fighting with settings or wondering where something is.
I built these features so that everything about your experience on GNG can be controlled from a few simple pages. Profile, notifications, billing, support, theme.. it's all here. And honestly, most of it takes about five minutes to set up. After that, you're good to go.
Whether you just signed up yesterday or you've been here since the beginning, this guide will walk you through every single thing you can do with your account. Let's get into it.
Getting Started - Signing Up & Logging In
Before you can do anything on the platform, you need an account. Here's how the whole signup and login process works.
Creating Your Account
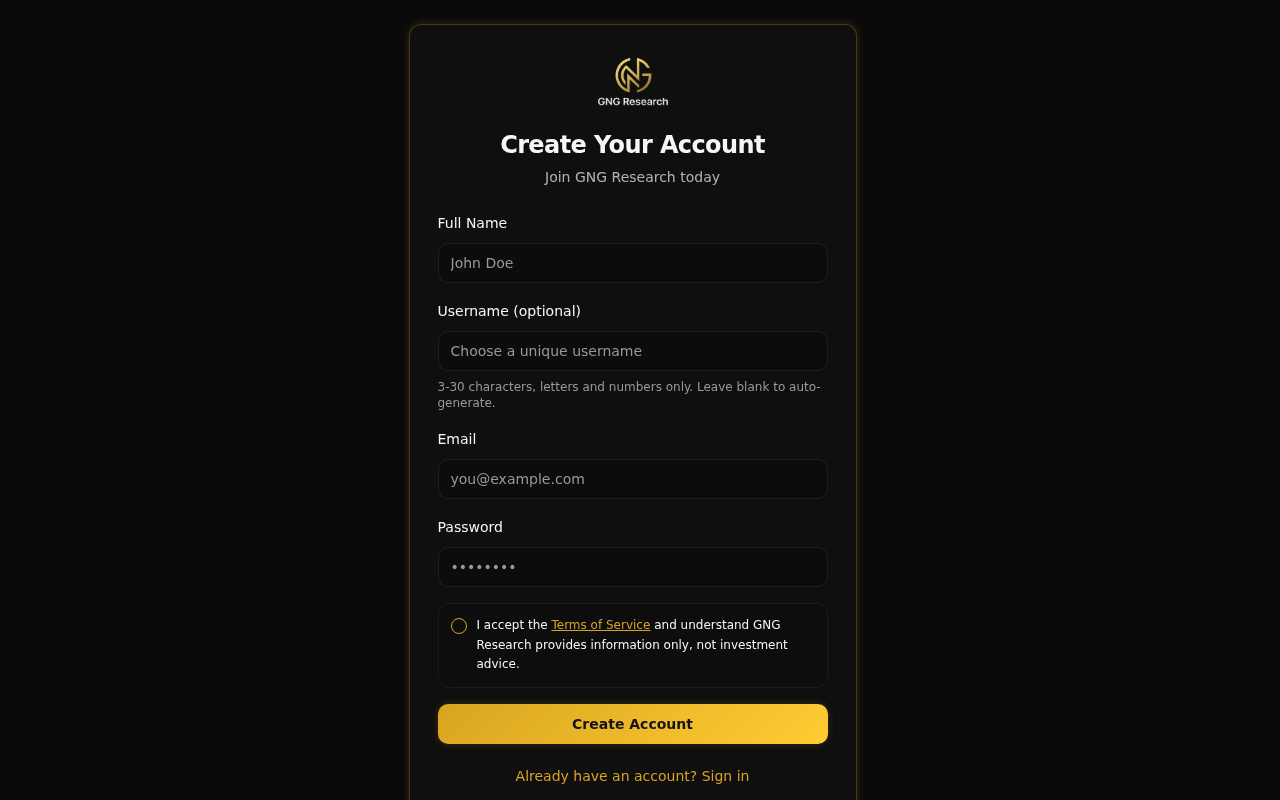
Head to the signup page and you'll see a clean form asking for a few things:
Full Name - Your display name on the platform
Username (optional) - Pick something unique, 3-30 characters, letters and numbers only. Leave it blank and we'll auto-generate one for you. Choose carefully though.. more on that later.
Email - This becomes your login and can't be changed afterward
Password - Minimum 6 characters
Terms of Service - Check the box to accept
Hit "Create Account" and you'll get a verification email. Click the link in that email to confirm your account. That's it.. you're in.
Logging In
The standard login is straightforward. Enter your email and password, click "Sign In", and you land on your dashboard. Nothing fancy, just works.
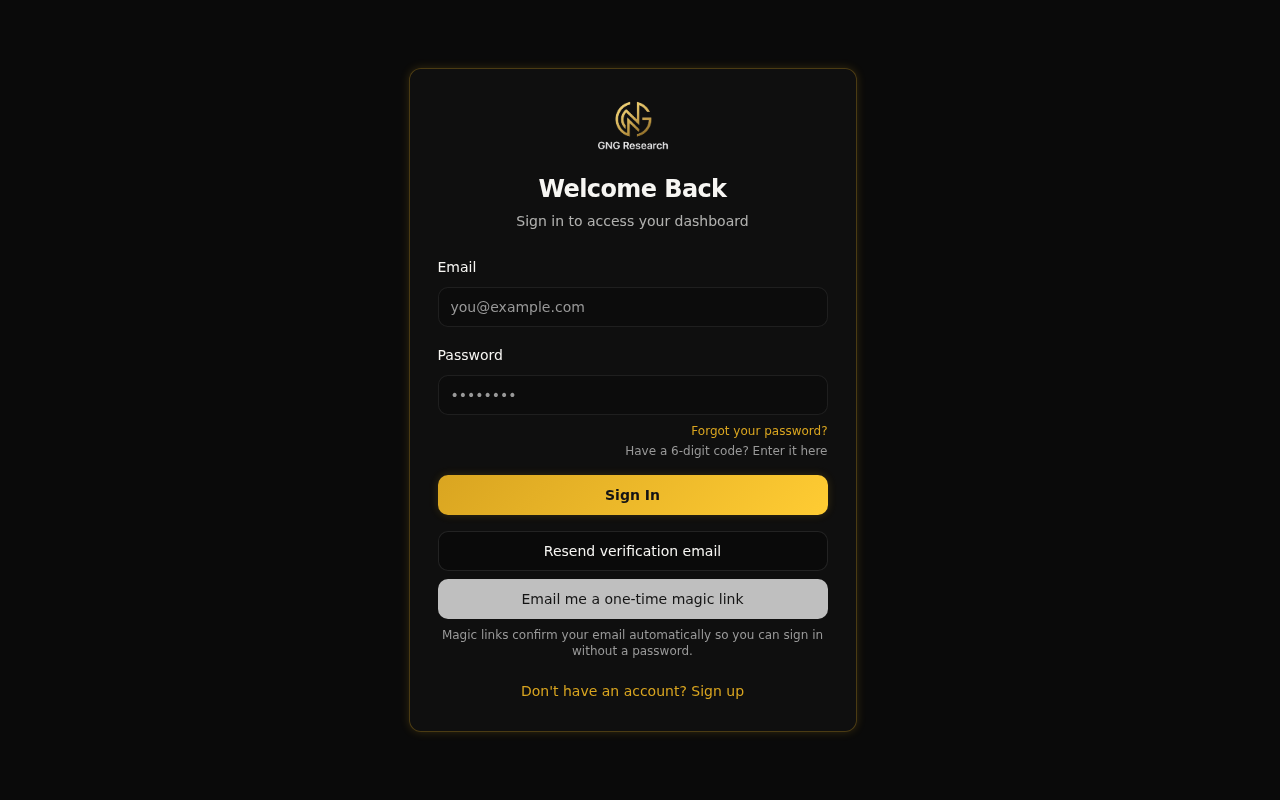
Magic Link
Don't want to type your password? Enter your email and click "Email me a one-time magic link". We'll send you a link that logs you in automatically. No password needed. Magic links also confirm your email if it wasn't verified yet, so it's a two-for-one.
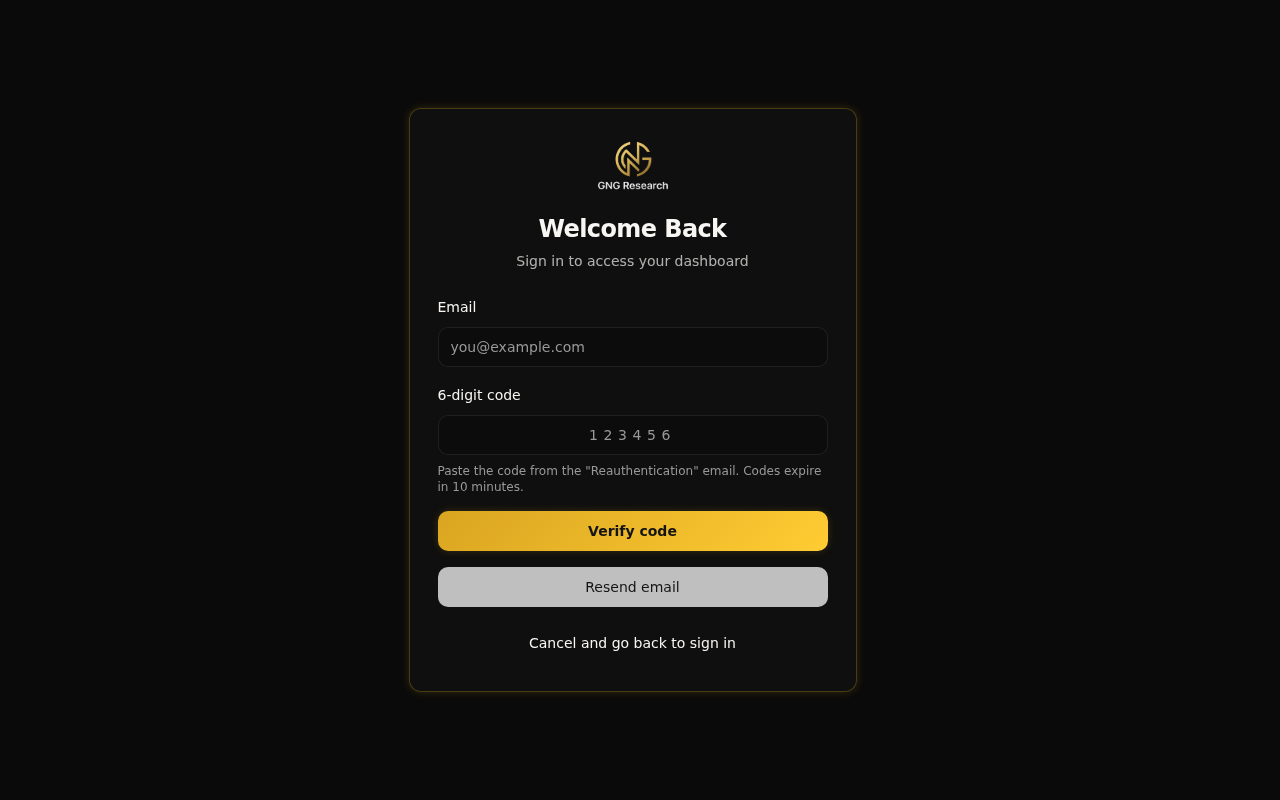
Forgot Your Password
It happens. Click "Forgot your password?" on the login page and we'll send you an email with a 6-digit code. Enter that code on the next screen, set a new password, and you're back in business. The code expires after 10 minutes, so don't wait too long.
Resend Verification
If you signed up but never got the verification email (or it ended up in spam), just go to the login page, type your email, and click "Resend verification email". A fresh one will be on its way.
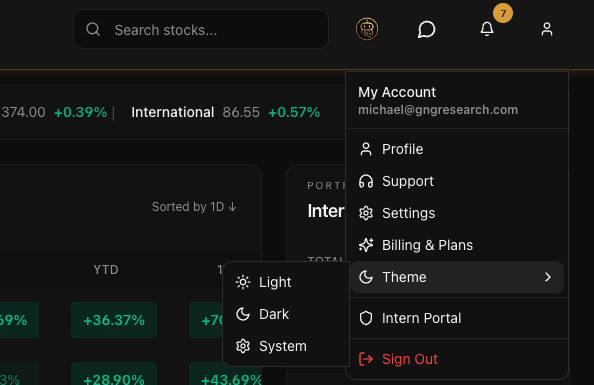
How to Get to Your Account Settings
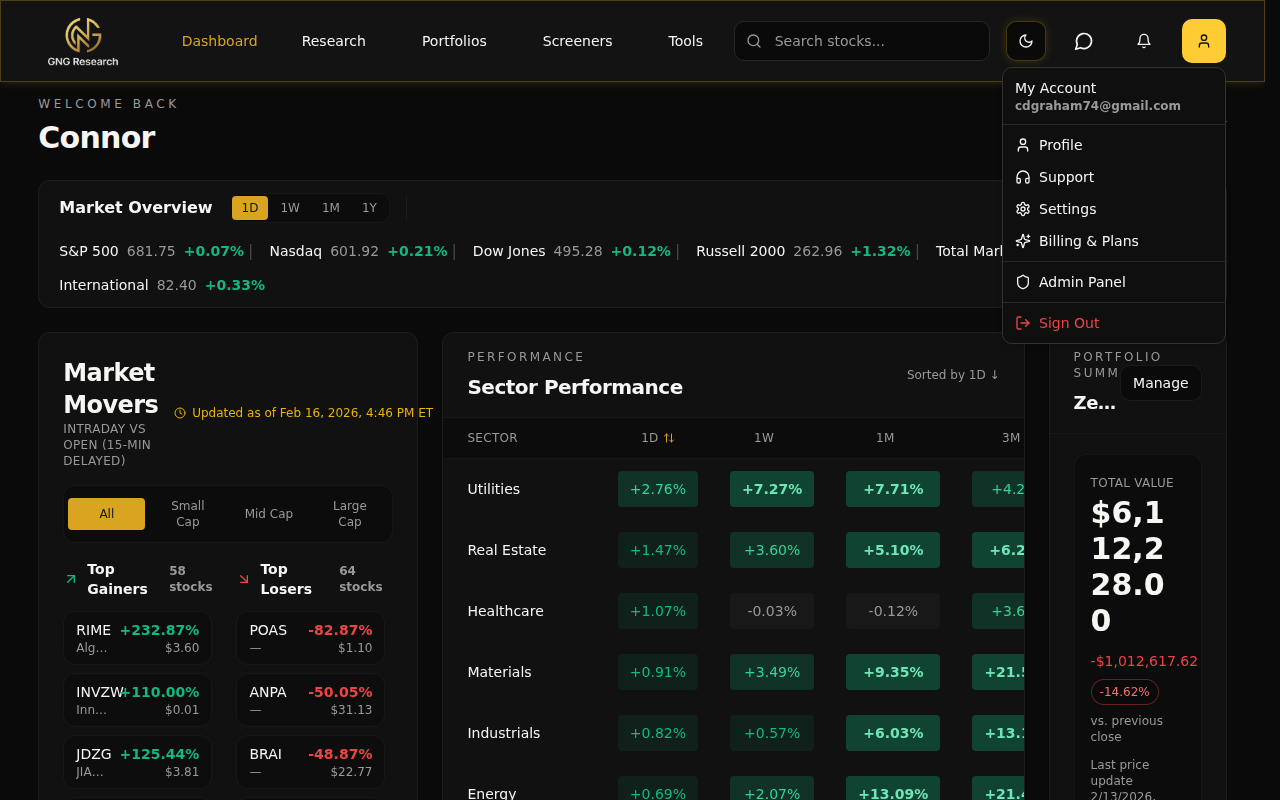
Everything about your account is accessible from one place: the user icon in the top-right corner of the navigation bar. Click it and you'll see a dropdown with your email and five options:
Profile - Your personal info, avatar, bio, and subscription overview
Support - Submit requests and track conversations with the support team
Settings - Your notification preferences (this links to the Notifications page)
Billing & Plans - Subscription management, plan comparison, and Stripe portal
Sign Out - Logs you out of the platform
That's it.. no hidden menus or buried settings pages. Everything is right there.
Profile Settings
The Profile page is where you manage how you appear to others on the platform and keep tabs on your subscription. Navigate to it from the user menu or go directly to /profile.
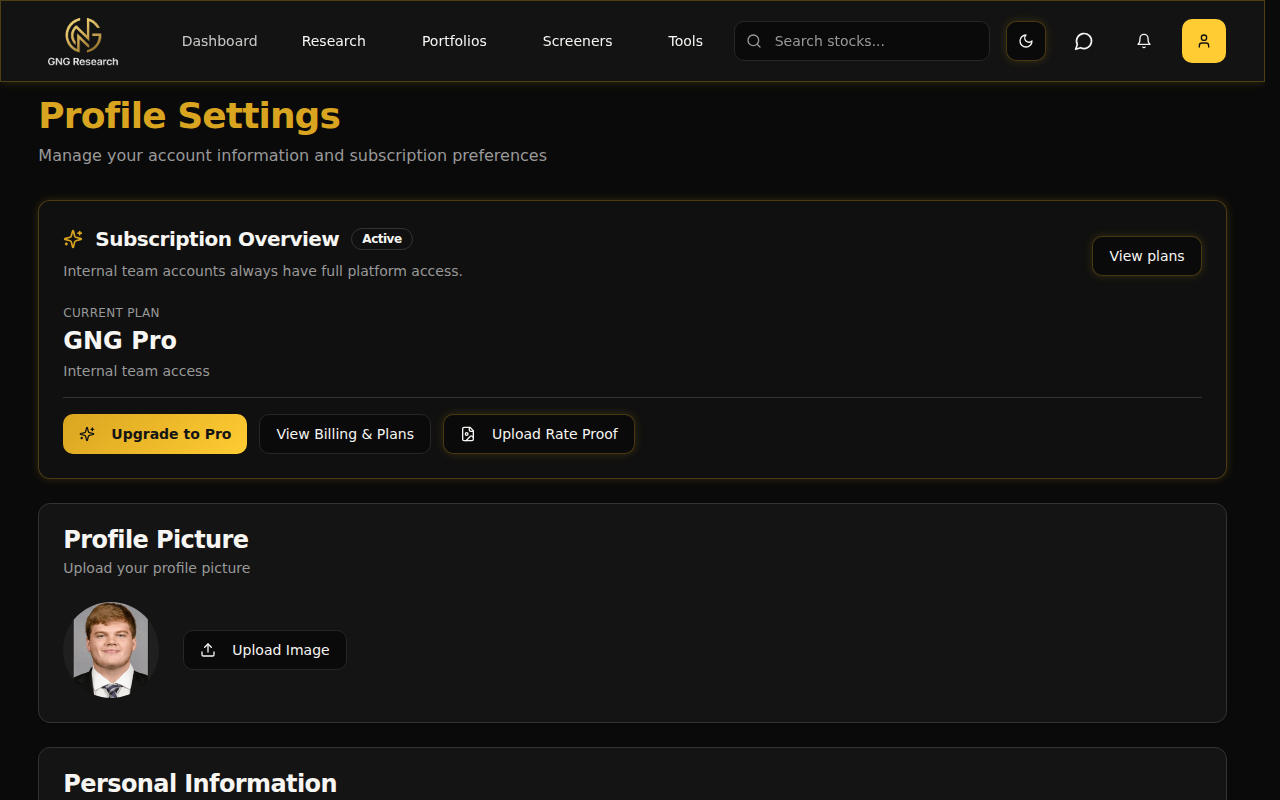
Subscription Overview Card
Right at the top of the profile page, you'll see a card showing your current plan. It displays your tier name (Free, Pro, Platinum, or Enterprise), your subscription status (Active, Trialing, etc.), and gives you quick action buttons. If you're on the free tier, you'll see an "Upgrade to Pro" button. If you're on a paid plan, you'll see "Manage Subscription" which opens the Stripe Customer Portal, and "View Billing & Plans" to compare tiers.
Profile Picture
Below the subscription card, there's a section for your avatar. You'll see your current profile picture (or a fallback showing your initial if you haven't uploaded one yet). Click "Upload Image" to pick a photo from your device. The image uploads to our storage and updates across the entire platform instantly.. navbar, comments, support threads, everything.
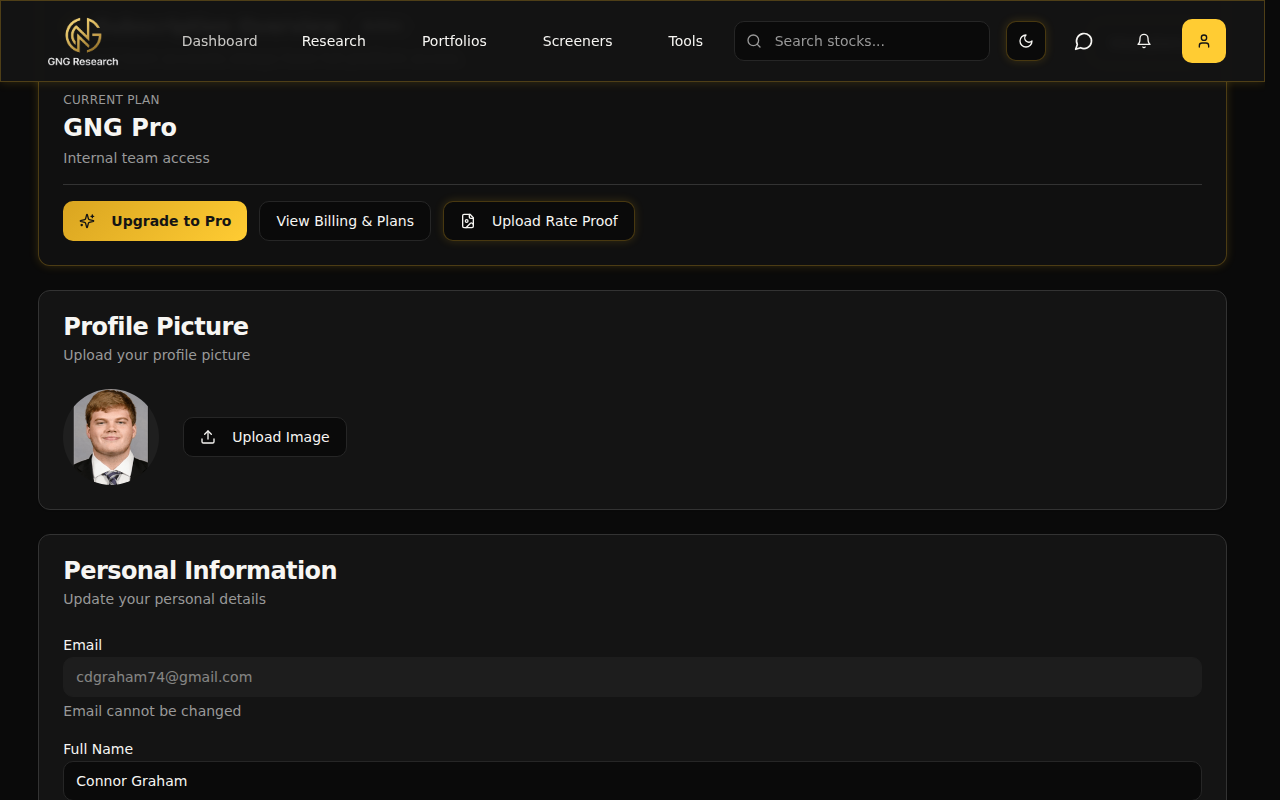
Personal Information
This is where you update your basics:
Email - Shown as read-only. This is your login email and can't be changed.
Full Name - Your display name. Update it anytime.
Bio - A short description about yourself. This shows up on your public profile and in article comments, so make it count.
Make your changes and click "Save Changes" at the bottom of the page.
Username
Your username is what shows up in shareable URLs (like community watchlist links) and how other members identify you. Here's the important part: you can only change your username once. After that, it's locked permanently.
When you haven't changed it yet, you'll see an amber warning box that says "Warning: You can only change your username once." Click "Change Username", type your new username (3-30 characters, letters and numbers only), and confirm. A dialog will pop up asking "Are you sure?" because once it's done, it's done. Choose wisely.
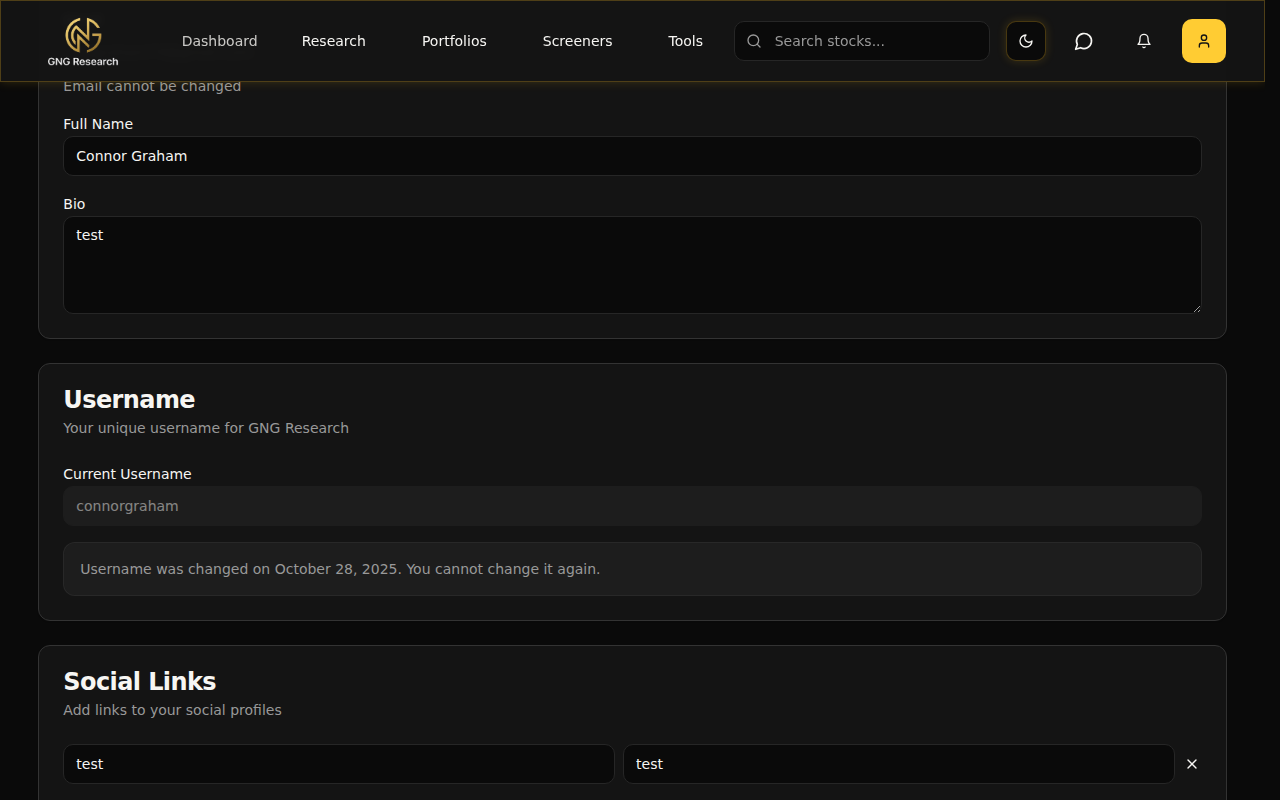
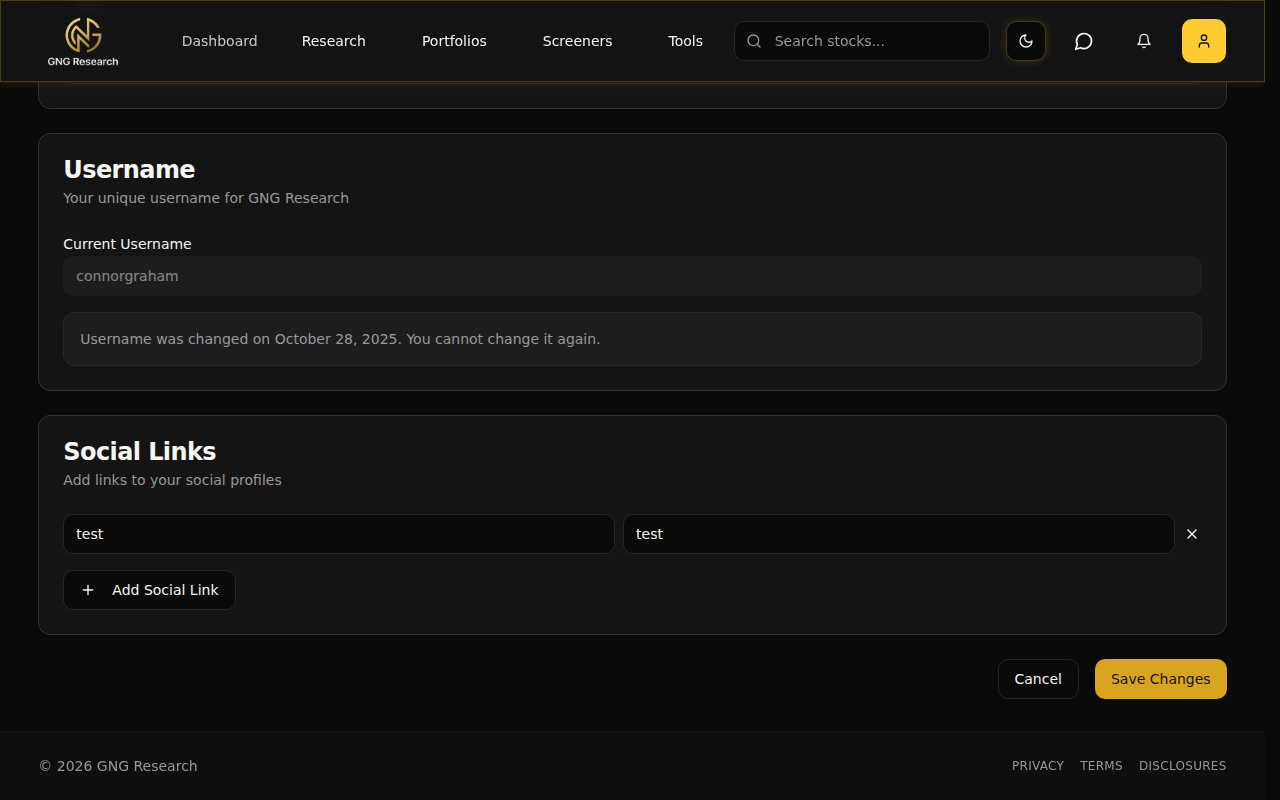
Social Links
You can add links to your social profiles so other members can find you outside of GNG. Click "Add Social Link" and you'll get two fields: Platform (like LinkedIn, Twitter, etc.) and URL. Add as many as you want. Hit the X button to remove one. These show up on your public profile, which is especially useful if you're sharing community watchlists or writing comments on articles. People like knowing who they're talking to.
Notifications
Alright, this is one of those features that seems simple on the surface but has a lot of depth. The notification system controls what alerts you get, how you get them, and from whom. Navigate to /notifications (or click Settings in the user dropdown).
Setting Your Preferences
The notification preferences are organized into clear sections. Here's what each one controls:
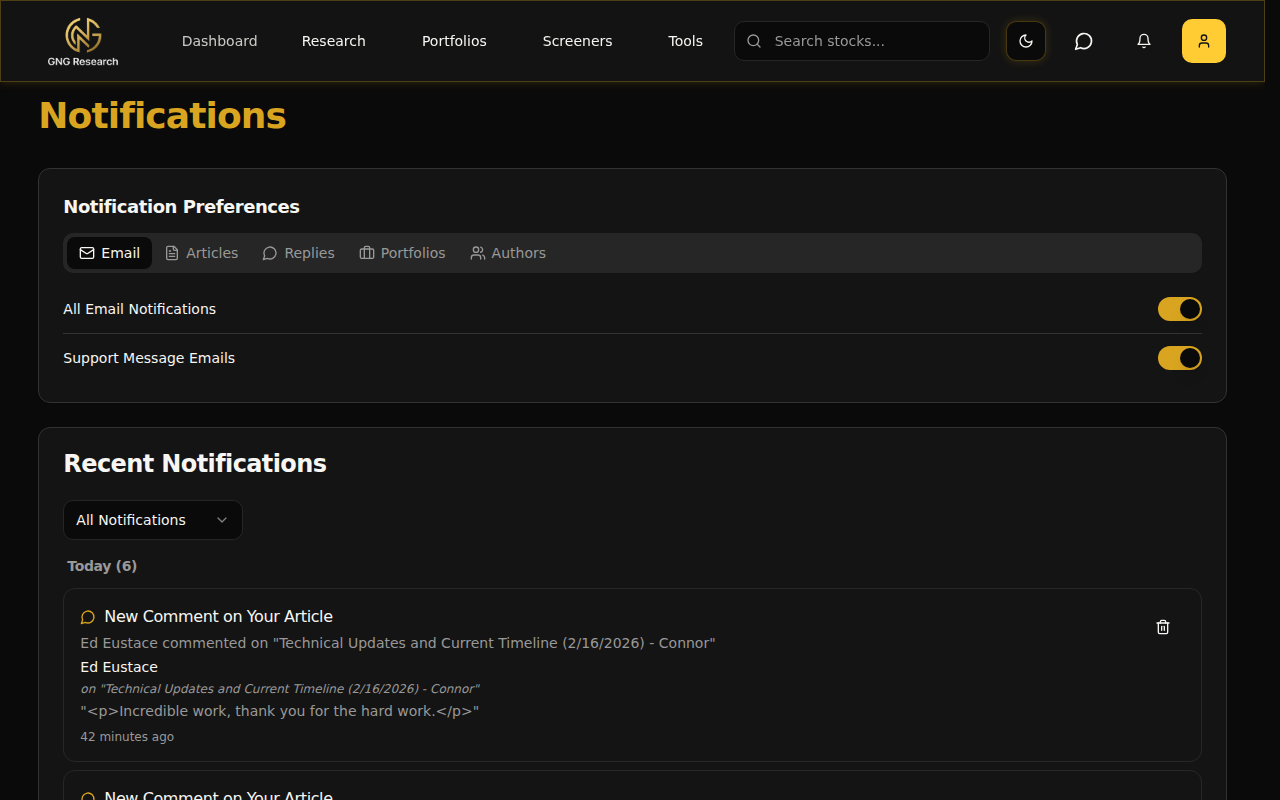
Email Notifications
Email Notifications (master toggle) - This is the big switch. Turn this off and you won't receive any email notifications at all. In-app notifications still work though, so you'll still see the bell icon light up.
Support Email Notifications - Controls whether you get email alerts when the support team replies to your tickets.
Comment Email Notifications - Get emailed when someone comments on an article you've interacted with.
Reply Email Notifications - Get emailed when someone replies directly to your comment.
Article Notifications
Article Notifications - Toggle to receive in-app notifications when new articles are published by authors you follow.
Comment Notifications - Get notified when someone comments on articles you're following.
Reply Notifications - Get notified when someone replies to your comments.
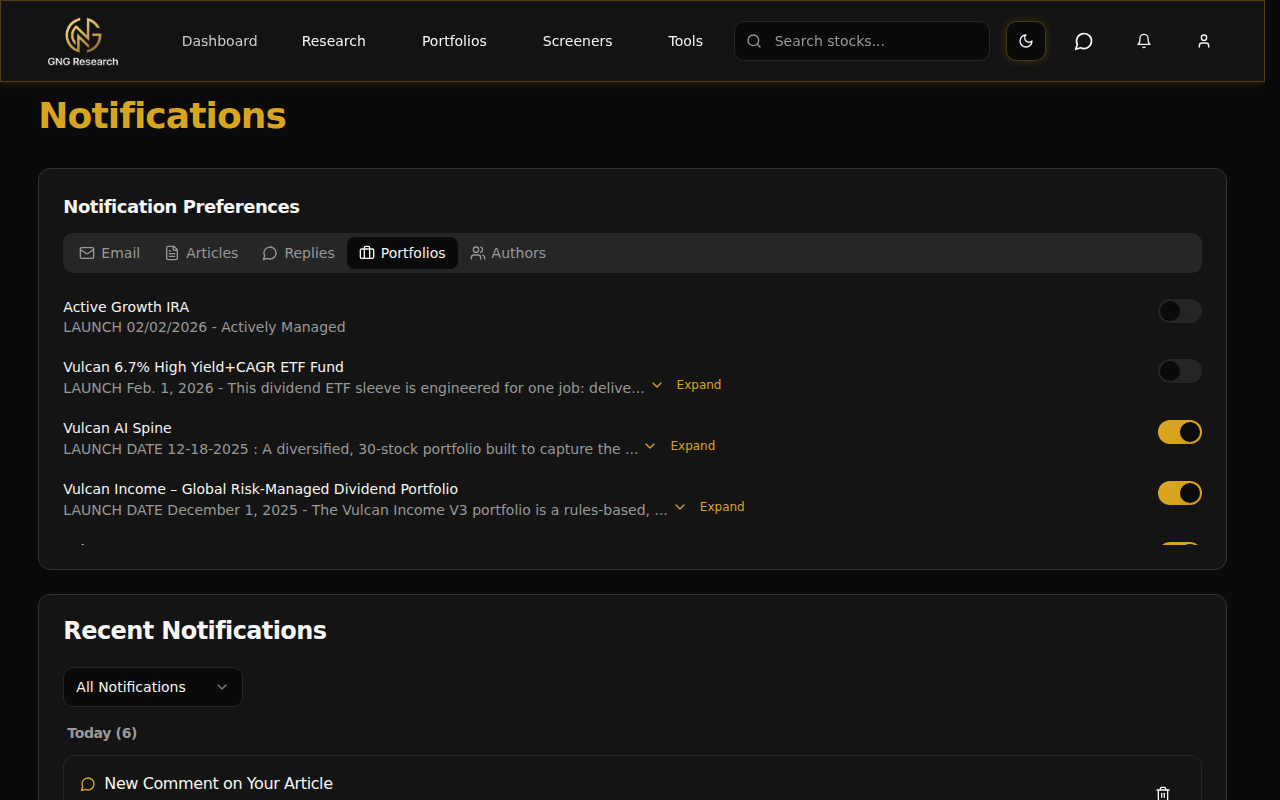
Portfolio Alerts
Portfolio Alerts - Master toggle for model portfolio trade notifications.
Below the toggle, you'll see a list of every model portfolio on the platform. Subscribe to the ones you want to follow. When a trade happens in that portfolio, you'll get a notification.
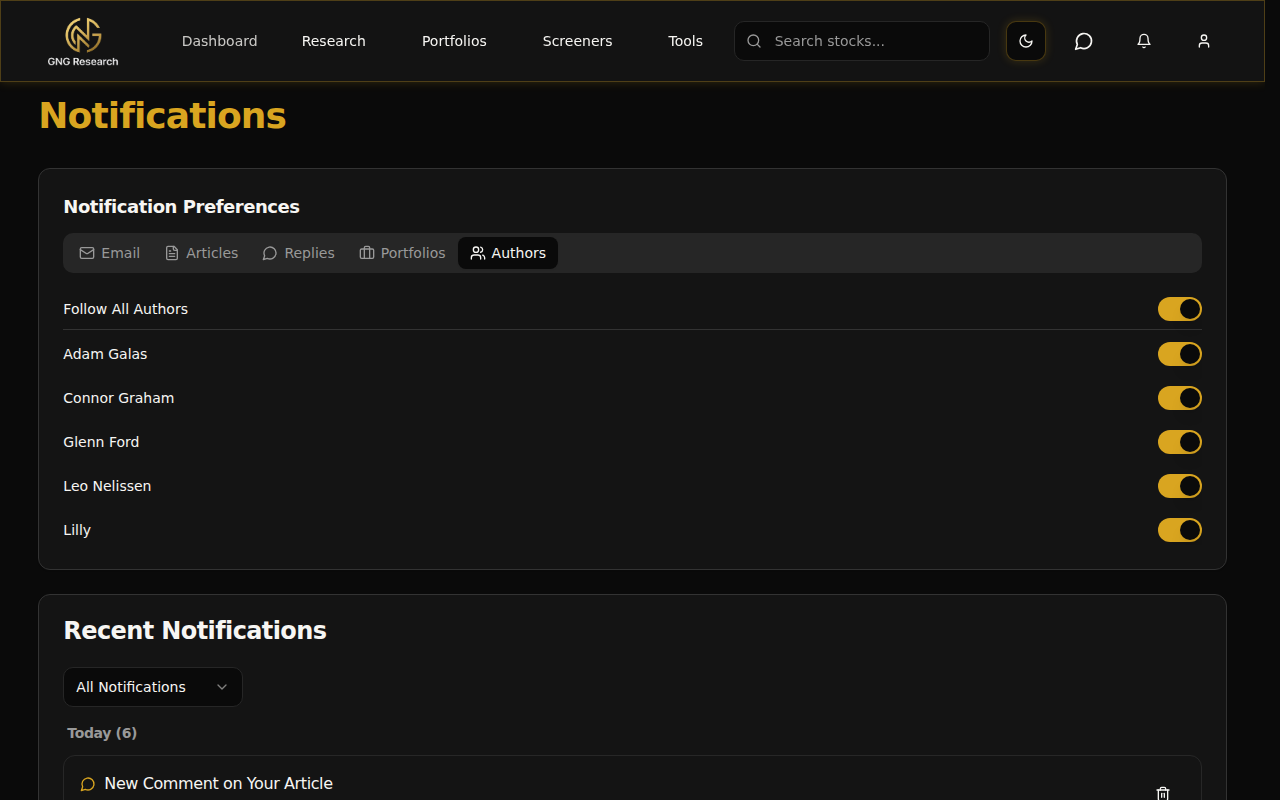
Author Subscriptions
This is where you control which authors you get article notifications from. By default, you're following all authors (the "Follow All" toggle is on). But if you only care about specific authors, flip that off and toggle on just the ones you want. When a followed author publishes a new article, you'll see it in your notification feed.
The Notification Bell
In the top-right corner of the navbar, right next to the user icon, there's a bell icon. When you have unread notifications, a badge appears showing the count. Click the bell and you'll see your notification feed. Each notification shows what happened and links to the relevant page. Click a notification to mark it as read and jump to the content. You can also mark all as read or delete individual notifications.

Billing & Plans
The Billing page at /billing is your one-stop shop for everything subscription-related. Here's what you'll find.

If you're on an active subscription, you'll see a Subscription Dashboard at the top showing your current plan details. The "Manage Subscription" button opens the Stripe Customer Portal in a new page.
The Stripe Customer Portal
This is a secure, Stripe-hosted page where you can:
View and update your payment methods
Download invoices and receipts
Change your plan (upgrade or downgrade)
Cancel your subscription
See your billing history
It's all handled by Stripe directly, so your payment information never touches our servers.
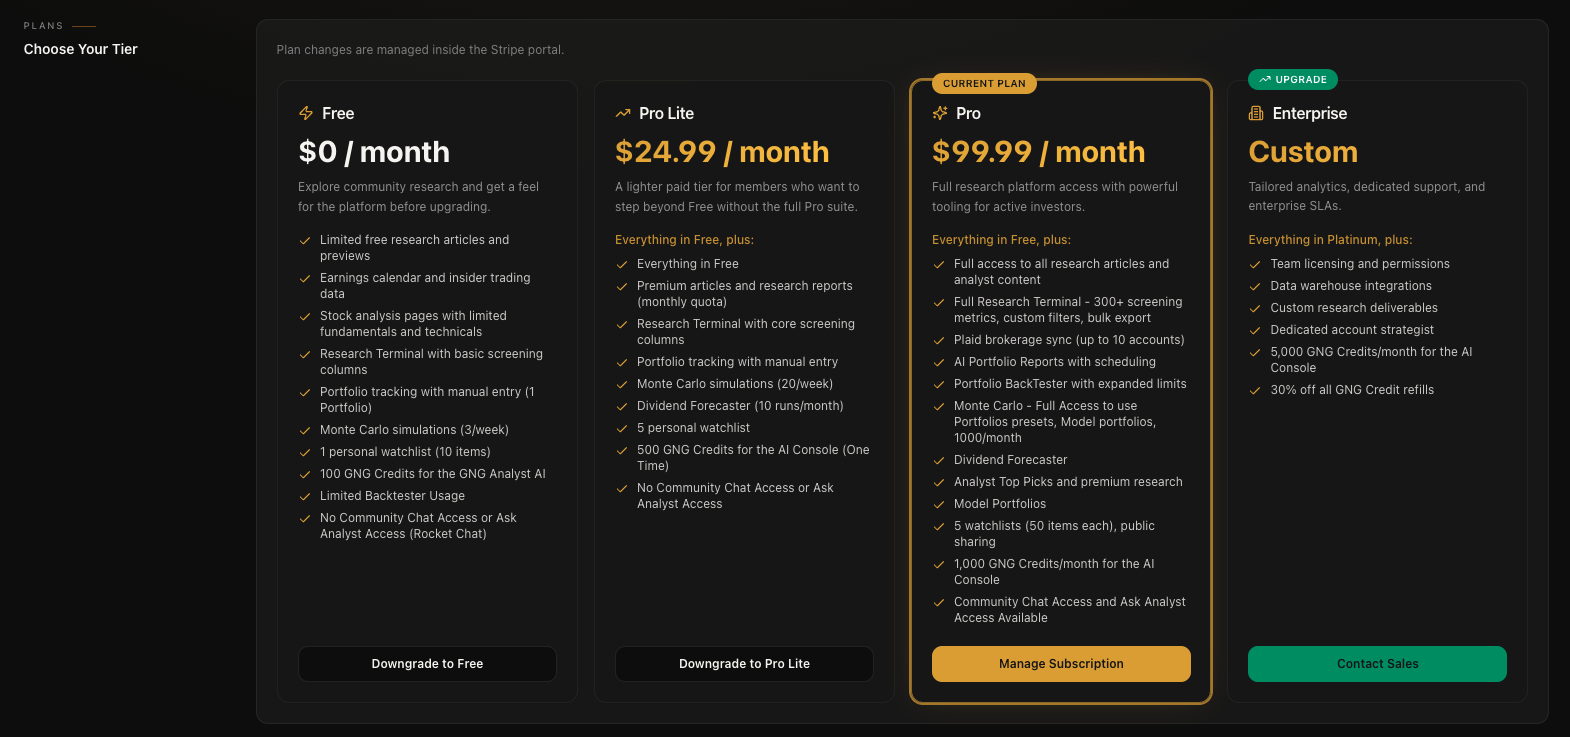
Below the subscription dashboard, you'll see plan comparison cards showing what's included in each tier. If you're on the free tier, this is where you can start your 30-day trial by picking a plan and going through checkout.
Rocket Chat - Community Chat
GNG has a built-in community chat powered by Rocket Chat. There are two ways to access it:
The chat icon in the navbar - Look for the speech bubble icon in the navigation bar, right next to the notification bell. Click it and you'll go to the chat page.
Direct URL - Navigate to /chat to get to the same page.
When you land on the chat page, you'll see your login status and a big "Open Chat Room" button. Click it and the chat opens in a new tab. The login is handled automatically through Supabase SSO.. you don't need to create separate credentials or remember another password. If you're logged into GNG, you're logged into Rocket Chat.
The chat supports real-time messaging, typing indicators, and read receipts. It's where the community discusses market trends, shares analysis, and asks questions. I'm in there regularly, so feel free to drop in and say hello.
Customer Support
If you ever run into an issue or have a question that the guides don't answer, the support system is built right into the platform. Navigate to /support or click Support in the user dropdown.
Submitting a New Request
The main section of the support page is the contact form. Fill in:
Subject - A brief summary of your issue
Message - The full details of what you need help with
Priority - How urgent it is
Hit submit and your request goes straight to the support team. You'll usually get a response within 24 hours.
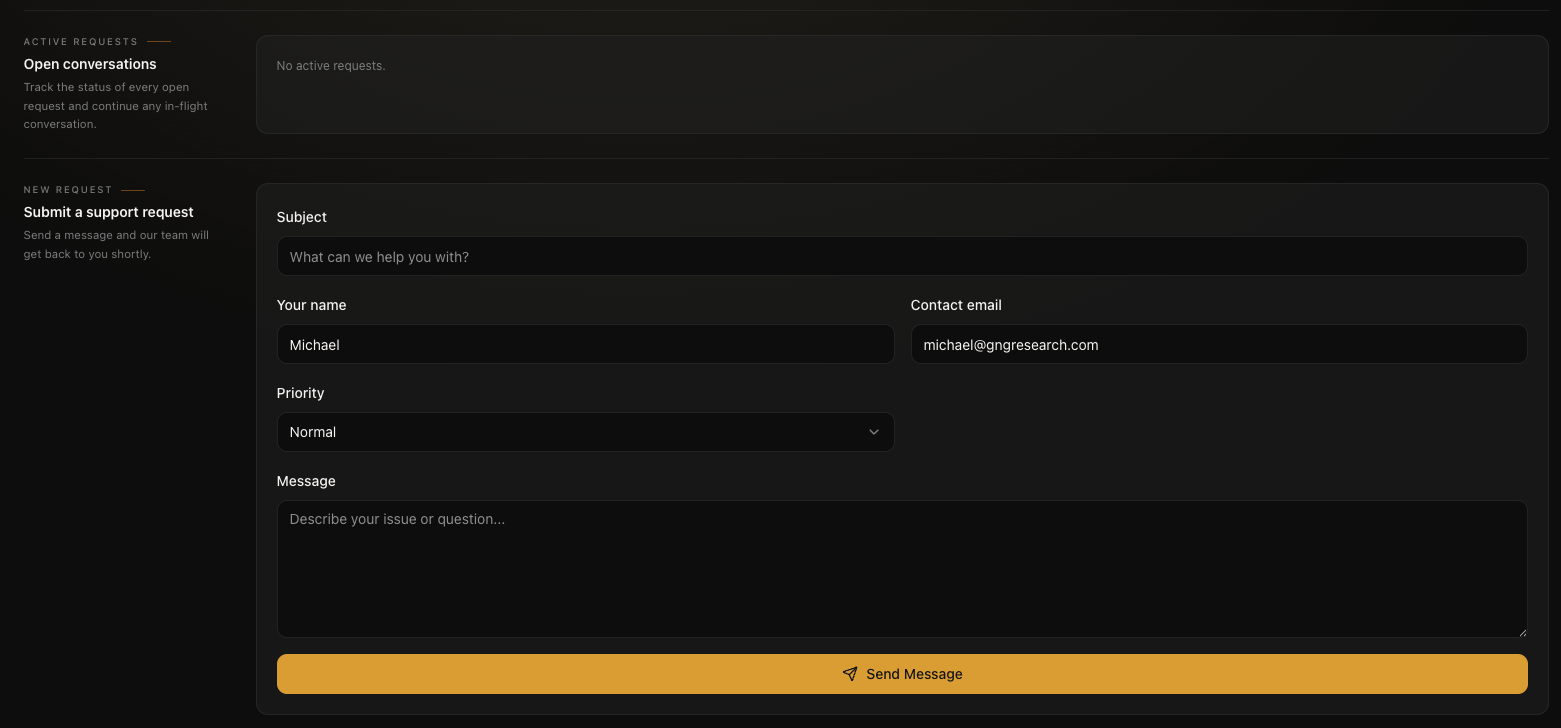
Tracking Your Requests
Once you've submitted at least one request, you'll see a "My Support Requests" section at the top of the page. Each request shows:
Subject - What you asked about
Status badge - Color-coded so you know where things stand: open (red), in_progress (gray), waiting (gray), or resolved (green)
Last message preview - A snippet of the latest reply
Unread indicator - A dot and badge if there's a new response you haven't seen
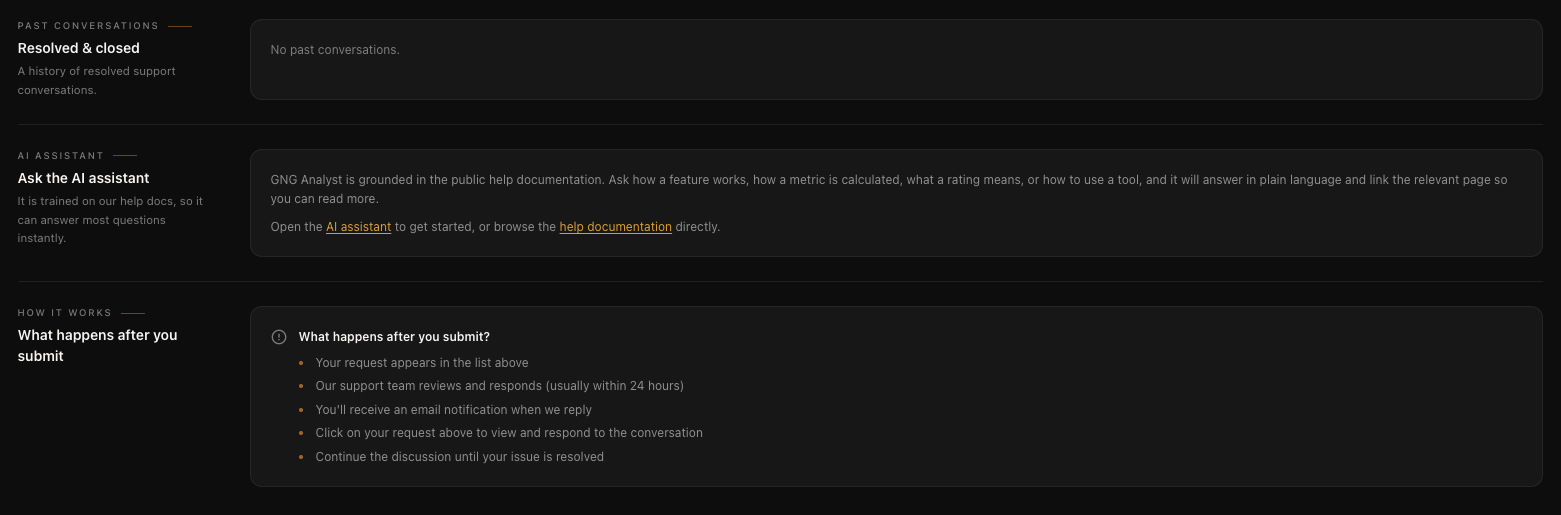
Conversation Threads
Click on any request to open the full conversation thread. It's like a mini messaging system. You can read the support team's response and reply directly. Every reply also triggers an email notification (if you have support email notifications turned on in your preferences), so you can respond from your inbox or in the app. The full conversation history is preserved so you never lose context.
Theme Toggle
This one's quick. In the navigation bar, you'll see a sun icon (in light mode) or a moon icon (in dark mode). Click it and a dropdown appears with three options:
Light - Bright background, dark text
Dark - Dark background, light text (my personal preference for late-night research sessions haha)
System - Automatically matches whatever your operating system is set to
Your preference persists across sessions. Set it once and forget about it.
Pro Tips
Here are some things I'd recommend doing as soon as you set up your account:
Upload a profile picture and fill out your social links right away. If you're going to comment on articles or share watchlists, people want to know who they're talking to. A real photo and a LinkedIn link go a long way.
Turn off the email master toggle but keep in-app alerts on. If your inbox is already overflowing, disable email notifications entirely from the Email tab. You'll still see the bell icon light up in the navbar so you won't miss anything important.
Subscribe to model portfolio notifications. Go to the Portfolios section in your notification preferences and toggle on the ones you want to follow. When a trade happens in those portfolios, you'll know about it instantly.
Use the 6-digit code for password resets. It's faster than clicking the link in the email. Just enter your email, click "Forgot your password?", grab the code from the email, and type it in.
Check support in-app, not just email. The in-app support system has the full conversation thread with status tracking. Email notifications are great for knowing when there's a reply, but the app is where you get the full picture.
Try dark mode for late-night research. Click the sun/moon icon and pick Dark. Your eyes will thank you when you're digging through financial data at midnight.
Choose your username carefully. You only get one change. Ever. If you're not sure what you want, leave it as the auto-generated one until you're ready to commit.
Follow specific authors instead of "all." If you're getting too many article notifications, go to the Authors tab in your notification settings and toggle off "Follow All." Then turn on just the authors whose content you actually want to read. Much cleaner.
Wrapping Up
That's your entire account from top to bottom. Signing up, logging in, managing your profile, dialing in your notifications, handling billing, getting support, chatting with the community, and picking your theme. All of it covered.
I know account settings aren't the flashiest topic, but taking five minutes to set everything up properly makes the entire platform work better for you. Upload that avatar, subscribe to the portfolios you care about, turn off the emails you don't need, and you're set.
If you have any questions or feedback about the account features, drop it in the comments below or jump into Rocket Chat and let me know. I read everything.
Thanks for reading, and I'll see you in the next guide.